Wednesday, June 13, 2012

There is just something therapeutic about the equine species!

Wow, where have the last 4 days gone?? There are so many things going on around here lately, it's hard to keep up! I almost forgot I had a blog, no not really, but it seems like I just posted something and then I realize 4 days have gone by. I've been busy with a huge custom wedding sewing job, I started a 4-H horse group this summer and our first horse show is this Saturday, so we have been riding a lot! And all the other stuff that comes with that like new horse shoes, trimming their hair, washing all the tack and blankets. And as I was holding the horse so my husband could put new shoes on him, I decided what I wanted my next blog posting to be, about horses. I have always loved horses from the time I was really small and they were soooo big! And 35 years later, I still can't live without them! There are so many things I love about horses. As I was holding "Tank" (our 20 year old, sorrel quarter horse) he had his muzzle resting near me and I could feel his warm breath on my shoulder. This made me think about all the little things I would miss if I never had a horse again. And that was one of them, a horses muzzle is one of softest places on earth, and my favorite place to pet mine! I love to look into their kind, gentle eyes. And,  I love their smell, (I'm not talking manure here!) it's an inviting, earthy aroma and smells like home to me. I have had so many great horses in my life and in each one I found a most loving and loyal friend. They will listen to any problem in a most understanding way, yet never offer an "I told you so" or "you should have". As a teenager I worked at a barn that used horses as therapy for children with disabilities and I can see why. Just being around a horse is therapy for me. Some people have Prozac, I have horses.  They just make me smile. And that's before I even get on. Riding them is even better! It can be so relaxing to venture off into the outdoors on horse back or so thrilling to run a horse around the barrels! I lost my favorite horse "Shorty" this last Dec. She was almost 24 years old and had been mine since she was 3 years old. So we had a lot of good times together, that was like losing a child for me. She was my life before I had kids of my own and super hard. I'm sure horses get to go to heaven, and someday I hope I get to see all the sweet equines that have made my life richer, grazing together in the green pastures of heaven.


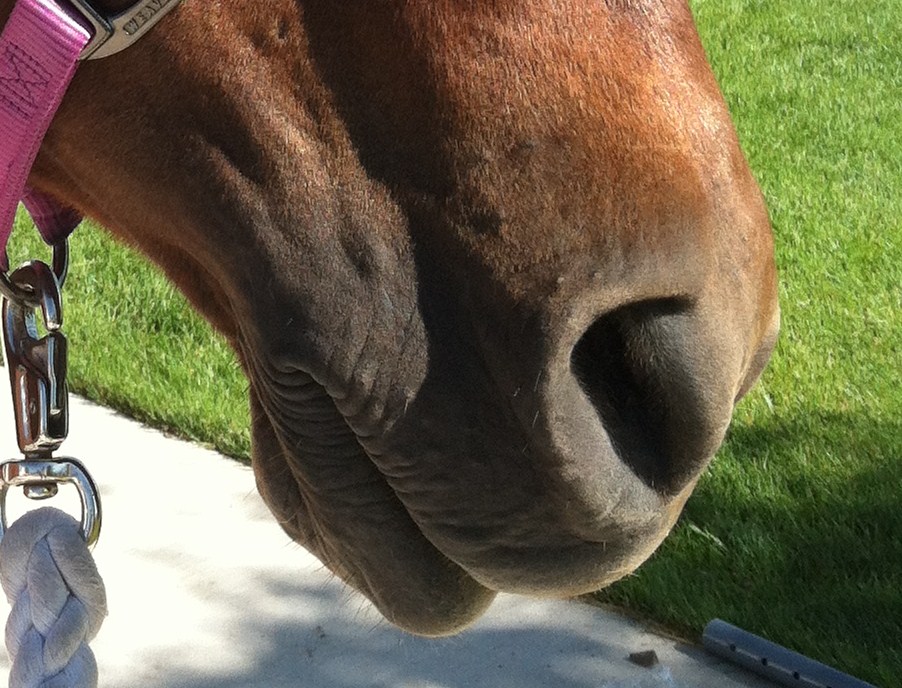
That sweet spot on the muzzle I was talking about is right in that shadowy spot, sooo soft!


Warm breath on my shoulder? Yep, that's what I'm talking about!


My favorite horse "Shorty" and I a way long time ago, when I was a 4-H'er.


Hope she's in the nicest green pasture in the sky! She was one in a million!


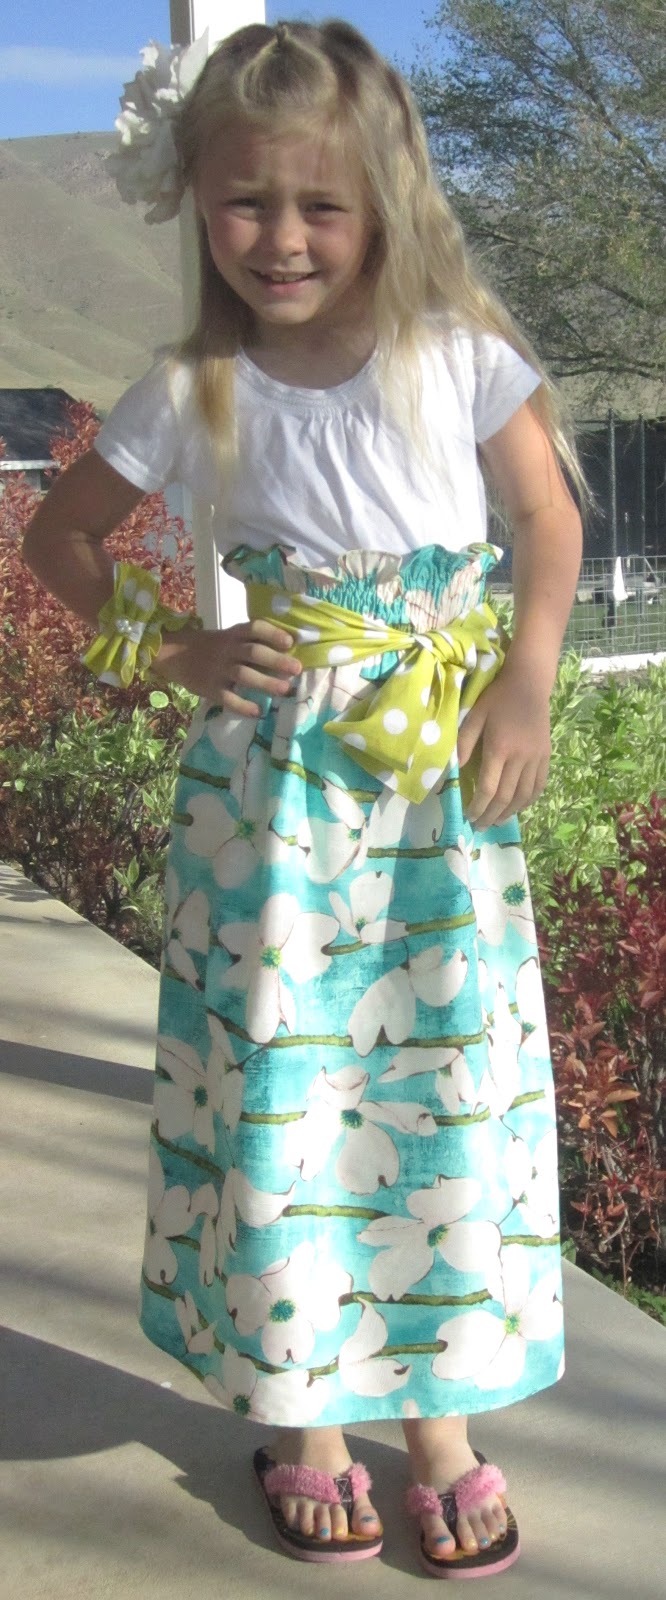
The next generation of horse lovers, my little Mattie.

Friday, June 8, 2012

Karate Birthday Party!


So my oldest daughter turned 7 today and when I asked her months ago what kind of birthday party she wanted, she responded with "I want a karate party." I thought to myself, I hope she changes her mind by the time the party rolls around because I know nothing about karate and neither does she. For some reason she is really into it lately. Birthdays are big around our house and we celebrate them! I give my kids a choice of a bigger, more expensive gift (like a bike or something) or a party with friends, they have always chosen a friend party. I just can't see buying a big gift and then spending that much money on a party so they get one or the other. So she stayed with the karate theme and so I went to work! There was a surprising amount of info. on the web about karate parties but most were kids that take karate or going to a  dojo. We wanted it here at our home. So I called a local martial arts studio in our town and the lady instructor came out and taught the kids meditation, punches, kicks, she brought padded numchucks, padded sticks and played a game where they could hit each other with the padded sticks, they loved it! She spent about an hour with them. We played a ninja invaders game with balloons, not letting the ninjas (balloons) touch the floor. We played Sensai Says (like Simon Says). Found both of these suggestions on the web when I looked up karate birthday. I got lots of fun party decorations online too and at a local party store. We ate Ramen Noodles with chopsticks, the cake was decorated like a "gi". I made all the kids "gi's" out of large white T-shirts, cutting them down the middle, made black belts with felt fabric, using fabric glue I attached dragons I cut out of fabric to the backs of the "gi's". I made headbands by cutting strips of white fabric and put the kids names on them using a black fabric marker in a really cool ninja looking font I found online. We made Chinese Dragons using old sheets and dragon faces that I got at a party store. We sewed a tuck in the back of the sheet with some crepe streamers for a tail and tacked the sheet in the front so just the front kids face showed through and then they carried the dragon face in front of them. I could have done without the wind that decided to blow at our house today, but other than the decorations blowing around and having to do the ninja invaders game inside, it was a lot of fun. Much to my surprise! I encourage my children to try new things and am open to their ideas, and this was definitely not one of my choices, but a karate birthday can be a lot of fun!

Wednesday, June 6, 2012

Well...here it is! Smocked/shirred Maxi Skirt Tutorial for Little Girls.

Well if you liked the maxi skirts on my girls in my previous post here is the how to make one yourself tutorial. This tutorial also features how to make a coordinating fabric belt to tie in a bow at the waist.

Here is a picture of today's finished project. 
So I started with a piece of fabric measuring 20" long and 40" wide as
 shown to the right.


Then using the Bernina rolled edge hemming foot, I made a hem on both top and bottom. (If you don't have the rolled edge hemmer, just fold over about 1/4" and fold over again, press and stitch to hold in place.) Second photo shows the rolled edge hem foot at work. Always press as you sew, it helps set the stitches and makes the end product look more professional.


Now it's time to begin the smocking/shirring. Using elastic thread for bobbin thread and regular top thread, and large (baste) stitches, I left 3/4" on right side (lining fabric up with metal plate on machine, as seen in 3rd photo),


 Sewed down to end of fabric, put needle down, turned for about 2 stitches, put needle down and turned fabric again and sewed down to end of fabric again, using my previous stitch as a guide to keep stitch line straight.


Make sure to keep the fabric flat and tight as you make your stitches.


I made 6 rows of stitches, you could do as many as ytE like. Make sure to backstitch when starting and stopping.


Once you have all the rows in use a spray bottle and iron to press and watch the stitched lines tighten up!


Then pin and sew down the side from top to bottom, using 5/8" seam, then press seam open and sew ends down on top and bottom.


 Press and wha-la! Super cute, super simple skirt!


I like to use same or coordinating fabric to make a belt to tie in a bow at the shirred waist. To do this use 2 strips of fabric 4" wide and 44" long.


 Sew them together end to end. (One stripe is just
not long enough to tie in a bow). You can use just one strip but it will tie in a knot, but not a bow.) And then I cut off about
20" from one end to fit my 4 year old. Adjust length of belt as needed for who you are trying to fit.


Now that you have a long strip, press the seam
open.


Then length wise, with right sides together fold in half and press
the length of the strip.


Then sew it together down the length of the strip leaving an opening to turn inside out and you can either do a straight end or an angled end tip.
I did angled on this one as shown.


Trim off excess fabric on outside of the seam.


I used my grabber tool to turn inside
out.


Then press flat.


Then sew hole shut.


There you are, skirt and bow belt! You can easily accessorize this into a darling outfit making headbands, hair flowers, bracelets out of the same or coordinating fabrics.


Tuesday, June 5, 2012

Little Girls Maxi Skirts, Tutorial on it's way!

I know I have said this before but, Shirring/Smocking is my new favorite thing to do in my sewing! I love it! I just can't stop!! (If you aren't familiar with this technique I'm sure there are lots of online tutorials available so I would start with learning the technique then come back to this tutorial to make something using the technique. Basically it is using long/baste top stitches and elastic bobbin thread stitches to pull the fabric in and make it stretchy.) So I created some cute new maxi skirts for my little girls using the shirring or smocking technique on the waist band and they turned out well. I will be doing a how to make a little girls maxi skirt tutorial on the blog later this week, but here is a glimpse of the ones I made for my girls. These are simple and fast to make, even for beginners! They are very comfy to wear. (Trust me on this one, my kids are all about comfort and are less concerned with fashion sense right now. So if they weren't comfy, they would not get worn. And they have worn them a lot!!) And here they are!!


This one features a shirred/smocked bow bracelet and shirred/smocked headband accessories made to match. 

Accessories feature bow bracelet and coordinating fabric bow  belt.


The accessory on this one is a white fabric/lace corsage bracelet. (See fabric corsage  tutorial if you want to make one.)


Monday, June 4, 2012

What's in your garden? Recipe for my version of Boursin Filet, part 1

I am always trying to come up with new ways to cook/use what fresh ingredients I gather from my garden. Right now I have beets (and their greens) and chard to find a new way to prepare for dinner tonight. I don't eat out a lot, but I love when someone else cooks for me! I hate when you eat something at a restaurant and then return only to find that your favorite dish is no longer on the menu. My favorite dish at The Macaroni Grill used to be the Boursin Filet. It was a filet Mignon steak over smashed squash and topped with a gravy and Boursin cheese. It was rich and very delicious! It was not on the menu the last time I ate there, so I am attempting to re-create this dish with my own style. Here goes, instead of the squash (because it isn't yet in season in my garden), I went with mashed potatoes, topped them with steamed beet greens, steak on top, covered with a mushroom sauce and Boursin Garlic and Herb cheese. I must say it was a hit! (I'm starting to think that my husband is just easy to please though and I'm not an extraordinary cook!) He likes just about everything that I put in front of him, which is great! But this was one of my favorite eat out meals and I did end up loving my version too, even better I think. (Must be the home grown greens!) I will attempt to recall what I did to create this dish in case any of you want to try it.

Filet Mignon (or your favorite cut of steak) Grilled to your desired doneness.
1-2 Cups Mushrooms, stemmed and chopped
1 clove Garlic, minced
2 Tbls. Butter
1-2 Cups Red Cooking Wine
1 beef bullion cube
1 Can Campbell's Beefy Mushroom soup
Boursin Cheese, (whatever flavor you like, I used Garlic/Herb)
Cornstarch in water to thicken to your desired thickness
Potatoes for mashing
Beet Greens, washed and steamed until tender

Boil and mash potatoes using whatever recipe you like, keeping warm until ready to serve.  Steam beet greens. Grill steaks while making sauce. To make sauce, in sauce pan melt butter, add garlic and mushrooms cook until tender, remove from pan, de-glaze pan with red wine, add beef bullion cube and soup, boil for about 15 min. and thicken at the end of that time with a cornstarch/water mixture, when thickened add mushrooms back in, heat to warm. To plate, place mashed potatoes on first, then beet greens, then steak and top with mushroom sauce and Boursin cheese. Enjoy!

Sunday, June 3, 2012

Bees love Salvia!

I know that some of you have thought about getting honey bees of your own. And may have wondered what plants or flowers do bees love? So this is for you! I have probably 12 Salvia Nemorosa shrubs in my landscaped yard, and on a daily basis I can walk by any one of them and they are alive with bees. The shrubs seem to sing a buzzy tune because they are covered with foraging bees! It is almost mesmerizing to sit and watch the busy bees working, collecting nectar and pollen from these beautiful purple flowers! The Salvia is a member of the sage family and to me it smells terrible, I don't care for the smell, but the bees are in heaven! It has a lovely deep purple color and keeps blooming throughout the summer (if you keep it dead headed). It is also a perennial so it will be back for years to come. So if you are wondering what to plant for your hungry bees try Salvia, you won't be disappointed! I had to rush getting ready for church today because I spent so much time watching these amazing creatures at work! I could literally spend hours watching them in admiration. I have figured out however that I need a better camera or need to learn to use mine better, in order to capture these fast moving little bees.

Saturday, June 2, 2012

Together Time!

Twelve years ago today I changed my last name and began a life with Mr. Matt Kalmar. Time has really flown by and I love the guy more now than ever! We had the opportunity to sneak away from our kids for a little anniversary celebration. It wasn't long, but was well worth it. We stayed last night in Midway at the Zermatt Resort/Hotel. We ate yummy food, walked, laughed, ate gelato, talked as we walked some more. It was a beautiful spring evening. We had a nice relaxing time, slept in until 10:00am, don't remember the last time I slept that long! Then this morning we headed off for some fun at the Park City Mountain Resort. It's a ski resort but during the summer time they have lots of other fun outdoor activities. You can ride the ski lift up the mountain and either ride a zip line down, or the Alpine Slide, which is a concrete or fiberglass slide that you can  ride a sled down...super fast and super fun! I loved the slide, and the zip line was a rush, but my favorite attraction was definitely the Alpine Coaster. It is a sled also, but it attaches to a metal track so you can go as fast as you want and don't come off the tracks (like you could on the slide because you aren't attached to a track). What a rush! Matt and went separately and together, we liked together better because with our combined weight we could get that sled going so fast! Our kids were so mad when we told them where we had been without them, but sometimes mom's and dad's just need some time together away from their beloved children. We don't get to do this sort of thing very often, I think it's probably been 2 years since we left our kids overnight. It was a nice contrast of rest/relaxation and pure adrenaline rush! The slow, quiet, relaxing lift ride allowed for private conversation, beautiful scenery and lovely mountain smells. While the rides back down were anything but relaxing. They were fast, exciting, wind blowing through your hair, screaming all the way down fun rides! This super short, but super fun getaway was just what we needed to stay connected as a couple. Marriage is like a plant, without care nurturing it will surely die. Don't forget to spend some time just the two of you and have fun together!